How To Remove Mechanical Keyboard Keys?
Mechanical keyboards are famous for their tactile and responsive typing experience.
Over time, dirt and debris can accumulate under the keycaps, leading to sticky or unresponsive keys.
So, regular cleaning of the keyboard is quite necessary. However, to do that, removing the keycaps of a mechanical keyboard without damaging them is important.
Here I’ll explain to you how to remove mechanical keyboard keys without breaking or damaging the keys or switches.

Ways To Remove Mechanical Keyboard Keys
Well, Turning off your computer or laptop and unplugging your keyboard before attempting to remove any of the keys is important.
If you do not have a keycap puller, you can use alternative tools such as a screwdriver, butter knife, or a bent paperclip to remove the keys.
However, it is important to apply light force to avoid damaging the keyboard switches.
1. Using A Keycap Puller
Here are the steps to remove keys from a mechanical keyboard using a keycap puller:
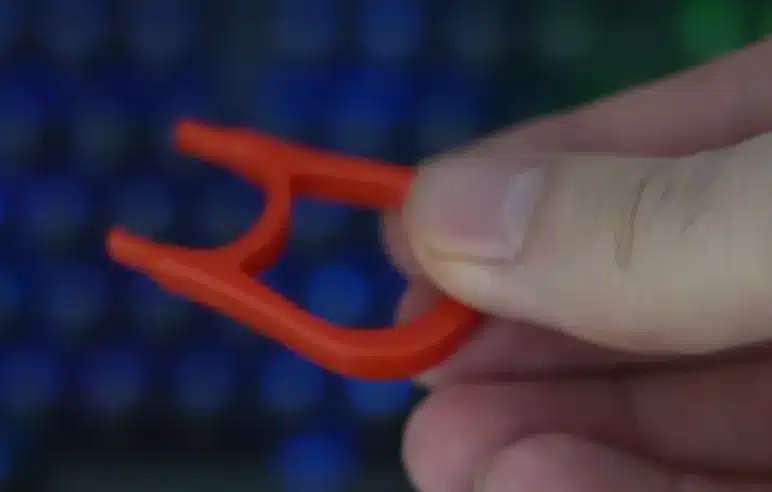
- Step 1: Position the keycap puller around the keycap with the legs of the puller in the notches on either side of the keycap.
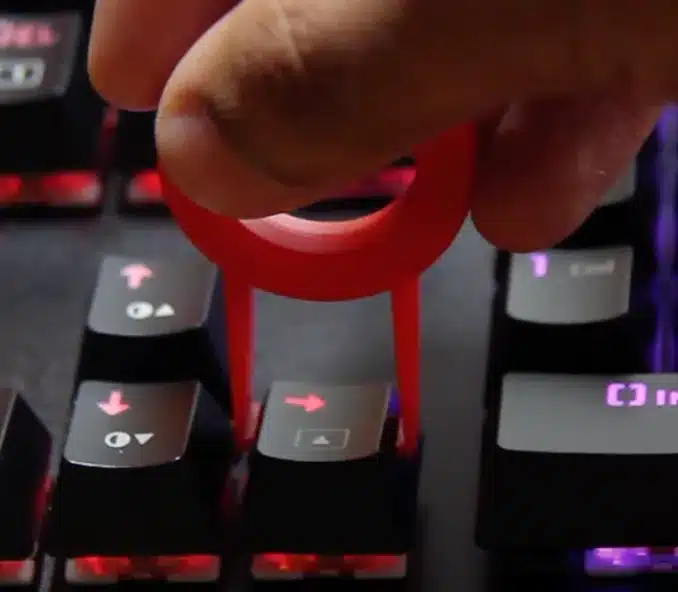
- Step 2: Gently pull up on the keycap puller until the keycap pops off the switch. Be careful not to apply too much force, or you may damage the switch.
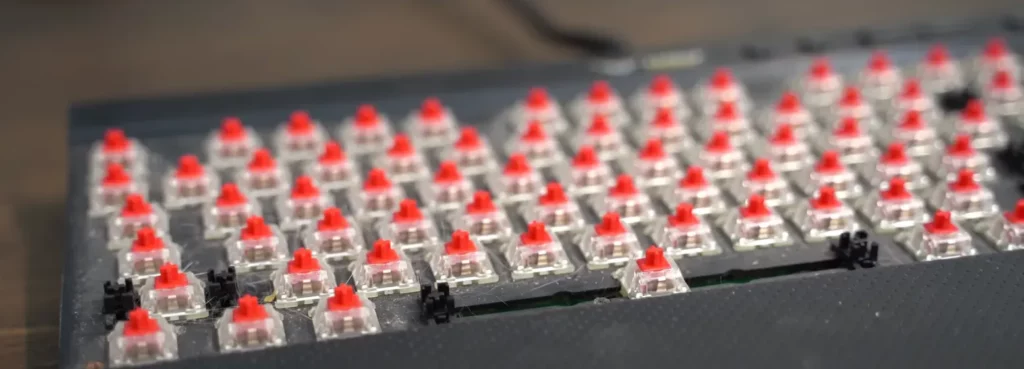
- Step 3: Repeat the process for any other keycaps you want to remove.
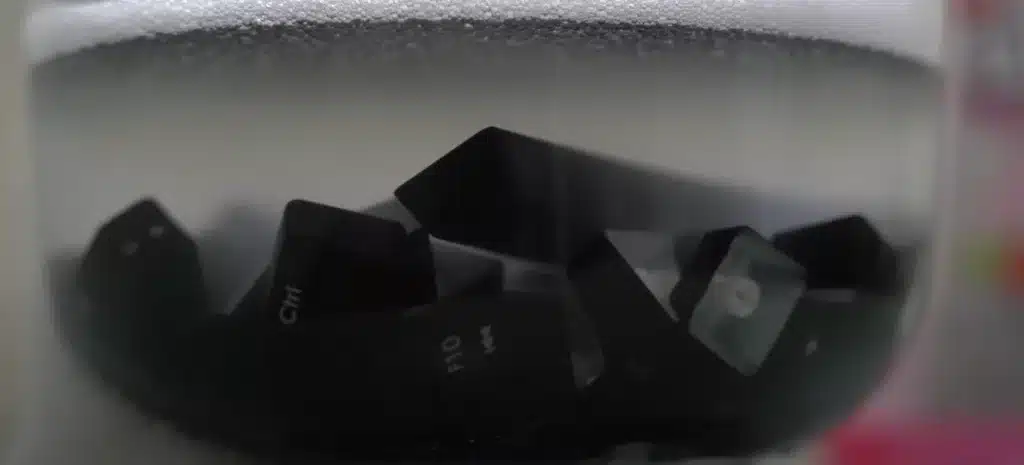
- Step 4: After removing all the desired keycaps, clean them using a mild soap solution and a soft cloth. Avoid using harsh chemicals or abrasive materials, which can damage the keycaps.
- Step 5: Make sure that the keycaps are clean and dry. Reattach them to the keyboard switches by aligning the stem of each keycap with the switch and pressing down until you hear a click.
- Step 6: Finally, plug your keyboard back into your computer or laptop and power it on.
2. Using Household Items
While a keycap puller is recommended for removing mechanical keyboard keys, you can use household tools in a pinch.
Here are the steps to remove mechanical keyboard keys using household tools:
- Step 1: Find a thin, flat-edge tool, such as a butter knife, coin, or bent paperclip.
- Step 2: Slide the tool underneath the keycap and gently pry it up. Be careful not to apply too much force, or you may damage the switch.
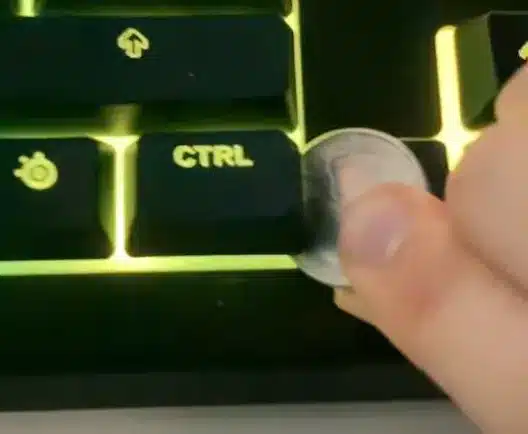
- Step 3: If the keycap is still stuck, try using another tool to pry it up from a different angle.
- Step 4: Repeat the process for any other keycaps you want to remove.
- Step 5: After removing all the desired keycaps, clean them using a mild soap solution and a soft cloth. Avoid using harsh chemicals or abrasive materials, which can damage the keycaps.
- Step 6: Make sure that the keycaps are clean and dry. Reattach them to the keyboard switches by aligning the stem of each keycap with the switch and pressing down until you hear a click.
- Step 7: Finally, plug your keyboard back into your computer or laptop and power it on.
Additional Cleaning Tips
Compressed Air
Compressed air is an essential tool for cleaning between switches on a mechanical keyboard. It effectively removes loose debris and dust particles that accumulate over time. To use compressed air:
- Hold the Can Upright: Ensure the can is held upright to prevent any moisture from being expelled.
- Direct Airflow Between Keys: Use short bursts of air directed into the gaps between the keys and switches. This helps dislodge particles without applying excessive pressure that could damage components.
Isopropyl Alcohol
Isopropyl alcohol is a safe and effective cleaning agent for deeper cleaning of mechanical keyboards:
- Concentration: Use isopropyl alcohol with a concentration of 70% or higher for best results.
- Application: Dampen a lint-free cloth or cotton swab with the alcohol and gently clean the switch housing and keycap surfaces. Avoid using it on keycap legends as it may remove printing.
- Safety Precautions: Ensure the keyboard is unplugged before applying any liquid cleaner to avoid electrical damage.
Drying
Proper drying of keycaps is crucial before reattaching them to prevent moisture-related damage:
- Air Drying: After cleaning, place keycaps on a clean towel or microfiber cloth and allow them to air dry completely. Ensure they are laid out individually to facilitate thorough drying.
- Avoid Heat: Do not use heat sources like hairdryers on high settings, as excessive heat can warp plastic keycaps.
- Reassembly: Once completely dry, reattach the keycaps by aligning them with their respective switches and pressing down until they click into place.
Preventing Damage
Avoiding Harsh Chemicals
Using harsh chemicals or abrasive materials can cause significant damage to your keyboard:
- Chemical Damage: Harsh cleaning agents can erode or discolor keycaps and may damage the plastic or electronic components of the keyboard. It is best to avoid products like bleach, ammonia, or strong solvents.
- Recommended Cleaners: Stick to mild cleaners like isopropyl alcohol (70% or higher) for safe cleaning. Always apply the cleaner to a cloth rather than directly onto the keyboard.
Gentle Handling
Handling your keyboard and its components gently is crucial to prevent damage:
- Keycap Removal: When removing keycaps, use a keycap puller or a similarly gentle tool. Avoid using excessive force which can break keycaps or damage switches.
- Switch Protection: Be cautious around the switches themselves. Rough handling can bend switch pins or dislodge them from the PCB (printed circuit board).
- Reattachment: When reattaching keycaps, ensure they are aligned properly with their switches before pressing down gently until they snap into place.
Cleaning and Replacing keys on Mechanical Keyboard
Cleaning a mechanical keyboard or replacing keys is a simple process.
It can help prolong the lifespan of your keyboard and ensure it functions properly.
- To begin, power off your computer or laptop and unplug your keyboard from the computer.
- Next, remove the keycaps using a keycap puller or household tool, and clean them with a mild soap solution and a soft cloth.
- Avoid using harsh chemicals or abrasive materials, which can damage the keycaps.
- If the keyboard switches are dirty, you can blow out any debris with compressed air.
- When replacing the keycaps, align the stem of each keycap with the switch and press down until you hear a click.
- Finally, plug your keyboard back into your computer or laptop and power it on. By following these steps, you can keep your mechanical keyboard clean and functioning properly for years to come.
Frequently Asked Questions (FAQ)
Ques 1: Is it safe to remove keys from a mechanical keyboard?
Ans: Yes, removing keys from a mechanical keyboard is safe if you do it correctly.
When removing keycaps, be sure to use light force and avoid pulling or twisting the keycaps excessively.
If you don’t have a keycap puller, you can use household tools like a flathead screwdriver or paperclip to remove the keycaps.
Ques 2: Can you remove keys without a keycap puller?
Ans: Yes, you can remove keys from a keyboard without a keycap puller, although it can be more challenging.
Household tools like a flathead screwdriver, butter knife, or paper clip can be used to remove the keycaps.
Insert the tool under the keycap and apply light force to pry it off. Be careful not to twist or pull the keycap excessively, as this can damage the switch.
Conclusion
By following these steps, you can prolong the lifespan of your mechanical keyboard. It will ensure a comfortable typing experience.
Don’t be intimidated by the thought of removing the keycaps.
With a little bit of care and attention, you can keep your mechanical keyboard in top condition for years to come.

