How To Clean Mechanical Keyboard? (Guide)
The norm for any serious player is a mechanical keyboard.
A mechanical keyboard should be cleaned lightly, regularly, and thoroughly a few times a year to maintain its quality and functioning.
Here, in this article, we’ll discuss how to clean mechanical keyboard properly.
The durability of a keyboard is increased by routine cleaning, which decreases filth, grease, and dust accumulation.
The cleaning procedure is rather straightforward but can be a little overwhelming if you have never done it before.

To protect the aesthetic appeal of your costly mechanical keyboard, make sure to follow all the cleaning/maintenance procedures step-by-step.
Please Note: To prevent inadvertent key presses and placing the cable, among other things, it is advised that you detach the keyboard every time you are preparing to undertake any kind of cleaning.
Importance of Cleaning Mechanical Keyboards
Performance Enhancement : Regular cleaning prevents the buildup of dust, dirt, and debris between the keys, which can interfere with key movement and responsiveness. This ensures that typing and gaming experiences remain smooth and efficient.
Longevity : By removing accumulated particles, regular cleaning helps prevent mechanical issues such as sticky or unresponsive keys, thus extending the lifespan of the keyboard.
Hygiene : Keyboards can harbor bacteria and germs. Regular cleaning reduces these health risks, ensuring a more hygienic workspace.
Aesthetics : A clean keyboard looks more professional and is more pleasant to use, enhancing the overall user experience.
Steps To Clean Mechanical Keyboard Properly (Explained)
1. Basic Cleaning
Removing Debris
To remove loose debris from between the keys, you can use either compressed air or a vacuum cleaner:
- Compressed Air: Hold the keyboard at an angle and use short bursts of compressed air to blow out dust and debris from between the keys. This method is effective for dislodging particles that are not deeply embedded.
- Vacuum Cleaner: Use a vacuum with a thin attachment designed for electronics. Run it gently over the keyboard, focusing on the spaces between the keys. Be careful to avoid damaging any sensitive components, such as glass sensors in some switches.
Wiping Keycaps
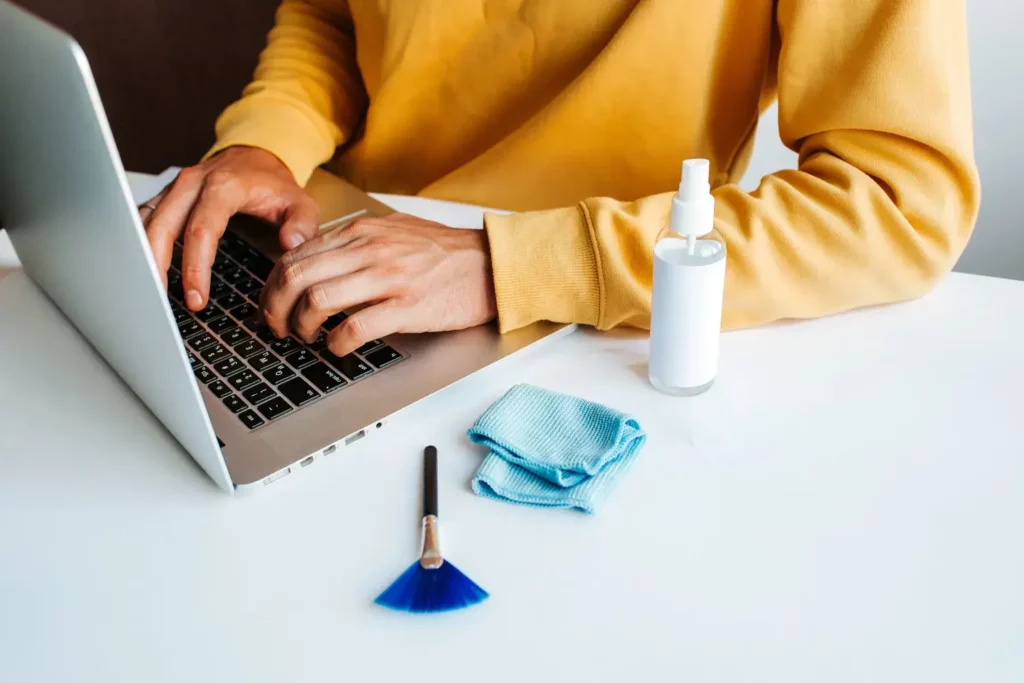
For cleaning the keycaps, use a damp cloth or antibacterial wipes:
- Damp Cloth: Lightly moisten a lint-free cloth with water or a mild cleaning solution. Gently wipe each keycap, ensuring you do not let moisture seep into the keyboard itself.
- Antibacterial Wipes: These can be used to disinfect the keycaps. Make sure they are not overly wet to prevent moisture from entering the keyboard.
Important Note: Always avoid excessive moisture when cleaning to prevent damage to the keyboard’s internal components.
Drying
After cleaning, it is crucial to let the keyboard air dry completely before reassembling or using it:
- Ensure that all parts, especially keycaps if they were removed and washed, are thoroughly dry before reattaching them. This might involve letting them sit out for several hours or overnight.
- If possible, use an electric duster to speed up the drying process without introducing moisture.

2. Advance Cleaning
Ultrasonic Cleaner
An ultrasonic cleaner can be used for deep cleaning keycaps:
- Usage: Place the keycaps in the ultrasonic cleaner filled with water. Adding denture tablets can enhance the cleaning process by helping to remove stubborn grime and stains.
- Effectiveness: The ultrasonic waves create tiny bubbles that gently yet effectively clean the surfaces and crevices of the keycaps without causing damage.
Soaking Keycaps
Soaking keycaps is another method for deep cleaning:
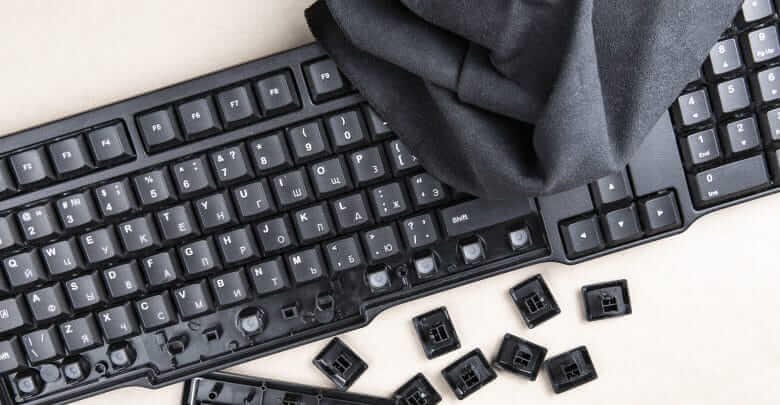
- Process: Remove the keycaps from the keyboard and soak them in warm water mixed with a mild soap or denture cleaning tablets. This helps to loosen and remove dirt and oils accumulated over time.
- Drying: After soaking, rinse the keycaps thoroughly with clean water and allow them to air dry completely before reattaching them to the keyboard. Ensure they are fully dry to avoid any moisture-related damage.
Cleaning Switches
Cleaning the switches requires careful attention:
- Method: Use a soft brush dipped in a solution of mild soap and water to gently scrub the surface of the switches and the keyboard plate. This helps remove dust and debris without damaging the sensitive components.
- Caution: Avoid using excessive liquid near the switches to prevent moisture from entering the internal mechanisms, which could cause malfunction.

3. Addressing Spills
Immediate Action
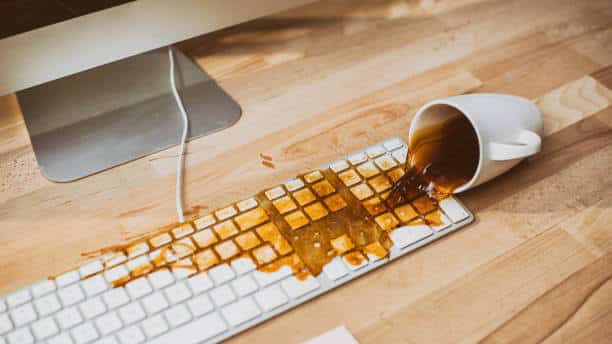
When a spill occurs, quick action is essential:
- Flip the Keyboard: Immediately turn the keyboard sideways or upside down to prevent the liquid from seeping further into the internal components.
- Gently Shake: Carefully shake the keyboard to encourage any excess liquid to drain out. This step helps minimize the risk of internal damage by removing as much liquid as possible.
Drying Keycaps
After addressing the spill, it’s important to ensure that all components are thoroughly dried:
- Air Dry Keycaps: If you have removed the keycaps for cleaning, make sure they are completely air-dried before reassembling them onto the keyboard. This prevents moisture from causing electrical issues or corrosion.
- Patience is Key: Allow sufficient time for drying, which may take several hours or overnight, depending on the extent of the spill and cleaning process.

Frequently Ask Questions (FAQs)
Ques 1: When should I clean my mechanical keyboard?
Ans: Often or once a week, the keyboard needs maintenance.
Ques 2: Are mechanical keyboards easy to clean?
Ans: As the mechanical keycaps are removable, it is quite easy to clean the keyboard.
Ques 3: Is it safe to vacuum the keyboard?
Ans: Yes, it is safe to vacuum or suck out the dust/dirt particles from your keyboard.
Ques 4: Does dust affect mechanical keyboards?
Ans: Before a keyboard’s switches or circuitry starts to malfunction, dust and filth will take control of it.
Contaminants may be controlled through cleaning, which is the most crucial keyboard maintenance duty.
Ques 5: Are alcohol wipes safe for keyboards?
Ans: Yes, you can clean your keyboard with rubbing alcohol.
Conclusion
You should be ready to use it after completing the above methods.
To resume typing, just re-plug your keyboard or, if it is a wireless keyboard, just type away by switching it on.
If you have any queries or need more direction, visit the official website of your keyboard manufacturer before washing for more comprehensive cleaning recommendations.


